
The Beginner’s Guide to Installing Custom Mosaic Artwork Without a Pro

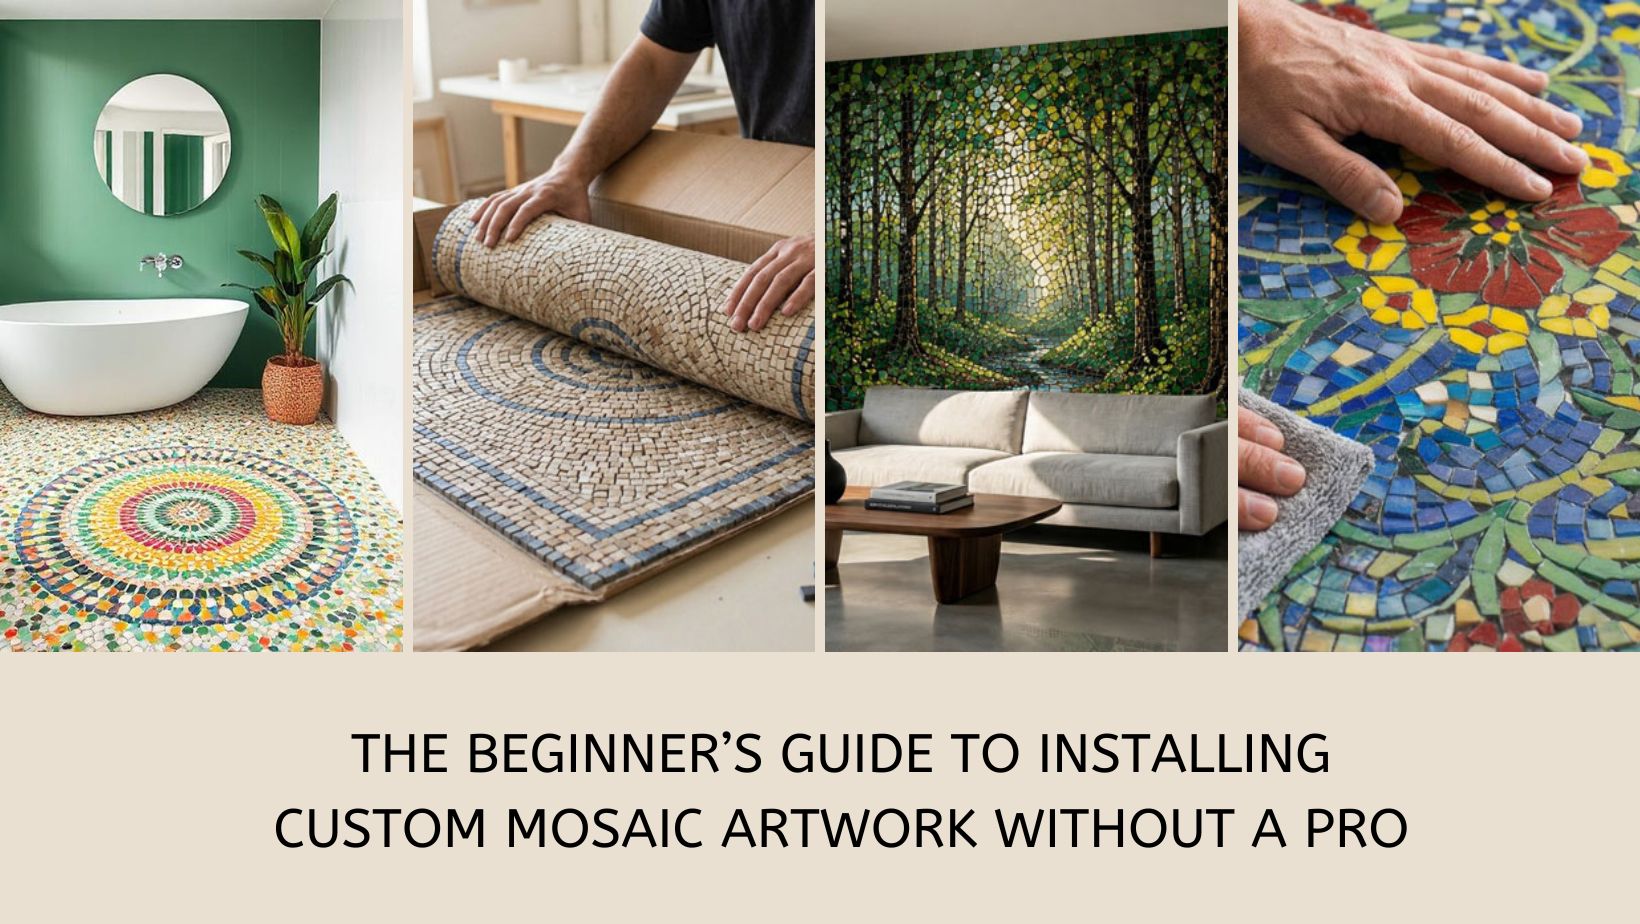
Elevated Craft and Simplified Installation: Our handcrafted mosaics are designed to bridge the gap between high-end art and DIY accessibility. With us, you get to transform your boring, ole wall or floor into a striking focal point without the need for professional contractors.
A Six-Step Roadmap: We have condensed the technical assembly into six clear and manageable (and fun!) steps, ensuring a polished finish from unboxing to finish.
Practicality and beauty: With small tiles and plenty of grout lines, mosaics are perfect for busy or humid areas, giving you style without compromising functionality.
Engineered for Longevity: When your mosaic is paired with the right adhesive, grout, and sealer, you can be sure that it will remain in pristine condition for decades.
The Value of Hands-On Design: There is a distinct satisfaction in installing your own mosaic centerpiece that goes beyond just hanging something on your wall.
The Pride of Completion: Installing one of our handmade mosaic artworks is all about that shot of pride you get when you step back and see a beautiful project you completed with your own two hands.
(5 minutes) If you’ve clicked your way here, you are probably already semi-desperate, thinking only pros can handle something as delicate as a glass mosaic art installation. Right? But what if we tell you that everything is a lot easier than you think, and yes, you can do it yourself. With our stunning, handmade mosaic art, all it takes is a little attentiveness, six simple and swift steps, and a sense of fun, and voila! Just like that, your empty wall, your boring floor, or your tired backsplash is suddenly transformed into a mosaic masterpiece in its own right.

All of our mosaics are designed with one clear ideology: to make our clients’ lives more beautiful and easier. We would tell you to think of them as the most basic ceramic tiles in terms of installation, but we are well aware that their dazzling designs would make that virtually impossible. *wink wink*

All jokes aside, all of our mosaic artworks are remarkably easy to install. No special degrees or skills needed. For some large-scale projects, you might want to invite a buddy to help you out, but for most installations, your own two hands are enough to work some brilliant mosaic magic.

Step 1: Unbox Your Masterpiece
Start by carefully opening your mosaic package and unraveling its contents with joy. Don’t forget the joy; it’s of the utmost importance during the first step. Each mosaic artwork comes on a fiber mesh backing with a protective film. Peel off the film gently, and tidy up any excess glue. If a tile has popped loose, don’t panic and stay calm. No Hulk impressions needed. Just glue the piece back in place with a small amount of solvent-based adhesive.

Step 2: Spread the Love (and some thin-set)
Grab your trowel and spread a thin layer of adhesive or white thin-set mortar over the surface you wish to mosaic. Going vertical? You can stick the mosaic to a wooden board first, then secure it to the wall. Big wall project? Tiny nails nailed into the gaps between the stones will keep everything safely sealed. For humid areas, such as bathrooms and kitchen backsplashes, make sure you use waterproofing measures. Pro tip: if your mosaic is heading into a wet area like a kitchen or bathroom, adding a cement-based tile backer board first is a smart move. Plywood is only advised if you can seal it properly.

Step 3
Place your mosaic on the adhesive and press down gently with a grout float so it sits flat and snug. Wipe away any extra mortar with a damp cloth, and just stop to admire your handwork for a moment. This is required because your mosaic deserves a little mental applause at this point, and so do you.

Step 4: Grout and Glow
After you’ve left your lovely new artwork to sit and dry for 24 hours, it is time to grout. Moisten the tiles with a damp sponge, and fill in the gaps with your chosen grout. Wipe away any excess grout first with a dry towel and then a damp one.

Step 5: Seal the deal
In business, hedge fund managers and CEOs seal their deals with handshakes. In mosaic art, we tend to be a bit more intimate. We seal our deals with hugs. Once your artwork is done, it is time for you to give it a protective hug with a marble and stone sealer. This step keeps your mosaic looking flawless and durable, so it will be admired for decades to come.

Step 6: Celebrate!
Step back, open a bottle of vodka, and enjoy your work! Or simply sip a cup of tea, whatever floats your boat. But don’t forget to enjoy the space you’ve just transformed with your own effort. Cheers!

So, you see, installing a mosaic artwork doesn’t have to be difficult and intimidating. With our marvelously handcrafted pieces, a bit of patience, and a little time, you can turn any interior into a personal art gallery. If you have any questions along the way, hit us up via live chat or contact us at [email protected]


LIKE THIS? PLEASE SHARE AND “SUBSCRIBE” TO CATCH THE NEXT ONE.
FOLLOW OUR STORY AS IT UNFOLDS ON INSTAGRAM | FACEBOOK | TWITTER | PINTEREST
WE ADD NEW WORKS EVERY DAY, CHECK OUR LATEST MOSAIC ARTWORK COLLECTION.





14 Comments
This was a great read. I’ve always wondered how mosaics were put on a wall when they came in a premad piece.
That is super cool! I’m glad I found this because we’ve been talking about adding a mosaic piece to our bathroom. I wasn’t sure how to do it.
Taking on a custom tile installation by yourself sounds pretty intimidating at first. Following a simple roadmap definitely helps make those detailed projects feel less overwhelming.
Such a helpful guide! Installing custom mosaic artwork can seem intimidating at first, but having clear steps makes the project feel much more manageable. I love how mosaic art can completely transform a space and add such a unique personal touch to a home.
Thank you so much for the simplified breakdown! It is so much easier than I could of imagined to install a mosaic piece in my own home.
I did not really know the process behind mosaics – this is such a neat look! I would love to try to do mosaics in my own bathroom.
I think this post was made just for me as I always have wanted to learn to do what you so. It is gorgeous and I wish I could make some of the amazing designs that you created above..,.. they are gorgeous works of art!
Gosh, for a second there I thought you’d have to install the mosaics one by one haha. How stupid of me! This actually looks so cool – And dare I say it, relatively straight forwards?
This is such a helpful guide! Custom mosaic artwork can look intimidating to install, so I love how you broke the process down and made it feel much more manageable. The finished result can add so much personality and character to a space. Great tips for anyone considering a DIY mosaic project!
You make it sound so easy. Following the simple steps I think I could possibly be able to do this one day
These beautiful mosaic look like the would be fun and fairly easy to install. They look like they could be heavy though!
I like how although beautiful with the main purpose for decoration, mosaic artwork is still very much practical and long-lasting when it is done right! These mosaic images are really pretty and can inspire a lot of ideas and motivation for our homes
This is such good news! I always thought we needed a professional to install tiles for us, so it’s great to know that we can actually do it ourselves. I really appreciate the 6-step roadmap you shared. It makes the whole process feel a lot less intimidating!
I didn’t know how much went into the process behind mosaics, it’s actually really cool and so smart